DIRECT DEPOSIT MAINTENANCE:
Employee
Each employee who will
participate in Direct Deposit must have personal bank account data keyed into
their employee file. Most users will
not use this menu to setup or change employee bank account information. Instead, you may access the bank account
screens through the standard Employee menu option on the Pay and Bill
Maintenance menu, or by locating the employee using the Employee search and
selecting the Data Entry option.
Note: this option requires special interface programming which must be purchased/installed to enable use.
Direct Deposit Overview
When an employee's paycheck hold
code is entered as *D (*D being a valid hold code for the company), an
additional set of screens will be added to their employee file. This screen contains the direct deposit
data.
An employee can chose to have
their net pay deposited directly into their bank account(s) rather than
receiving printed paychecks. A special
hold code, when keyed into the employee file, will cause an additional screen
of data entry to display. Set up one or
more bank accounts for the employee. A
person can deposit pay into a single bank account, or in up to 3 different bank
accounts. When payroll checks are
printed, direct deposit participants will receive a ‘voucher’ rather than a
standard payroll check. The information
printed on the ‘voucher’ pay stub is the same as a standard paycheck. After the normal payroll options are
completed, a file of direct deposit data is transmitted to your bank, and your
bank will forward the pay data to the employee banks.
If the employee wants to use
multiple bank accounts, two of the three accounts will be set up to receive a
specific dollar amount each pay period, and one account will be designated the
PRIMARY bank account and will receive the remaining dollars of the pay
period. This is true whether the person
receives one check or multiple checks in a pay period. Example, if the 2nd bank account
is set for $50, and the 3rd account for $25, and if the employee’s
net pay for the pay period is $200, then the PRIMARY account will receive
$125. If the employee’s net pay for the
week is $35, then the 2nd account will receive the entire $35, and
no deposit will be made into the 3rd account or the Primary Account.
Most participants will begin
this process with a pre-notification that allows the bank to verify the
employee’s direct deposit bank and account data without actually making a
direct deposit.
During the pre-note stage the
employee will continue to receive printed paychecks. A zero-amount direct deposit record will be created and sent to
the bank during the first payroll that is processed after the pre-note date in
the employee’s file.
The bank will either accept the
pre-note as valid or reject it. Most banks
will not notify you of acceptances, only rejections. If you have not received a rejection from the bank within a
designated time period (designated by your bank), then the pre-note can be
changed to active.
If the pre-note is rejected, the
bank will let you know. Generally,
rejection is due to invalid banking information. Make the necessary corrections to the personnel file and change
the pre-note date to the date that the next "test run" should begin.
Once the pre-note is accepted,
you will change the person's direct deposit status from pre-note to active
and will assign a date to begin actual direct deposit.
Should the person change banks,
or should the person's bank account data change, then the person will have to
go back to a pre-note status for the test period.
A password is required for
entering or changing direct deposit data.
(It is the same password used to process a "Begin Cycle" in
payroll - see SM2PBMANT14).
A person can be removed from the
direct deposit program by changing their paycheck hold code from *D to any
other valid hold code.
HOW TO SET UP EMPLOYEE DIRECT
DEPOSIT DATA
To
begin, sign on to the “PayBill Library Master” menu.

Right
click in the white space on the right side of the screen, or use the blue bar
to ‘drag’ down and display more menu options.
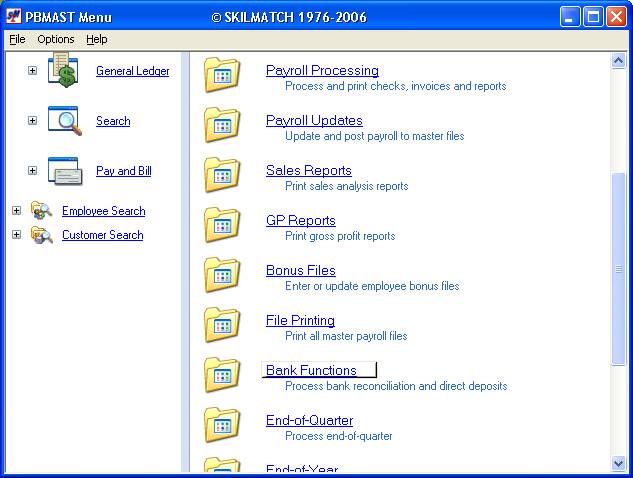
Click [Bank
Functions].
The
screen will display:
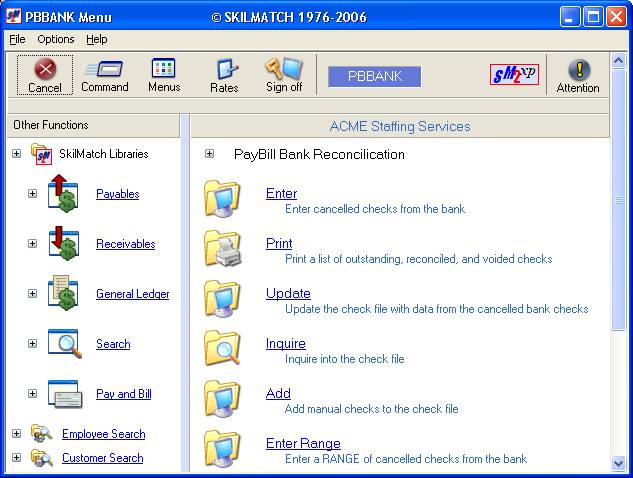
Right
click in the white space on the right side of the screen, or use the blue bar
to ‘drag’ down and display more menu options.
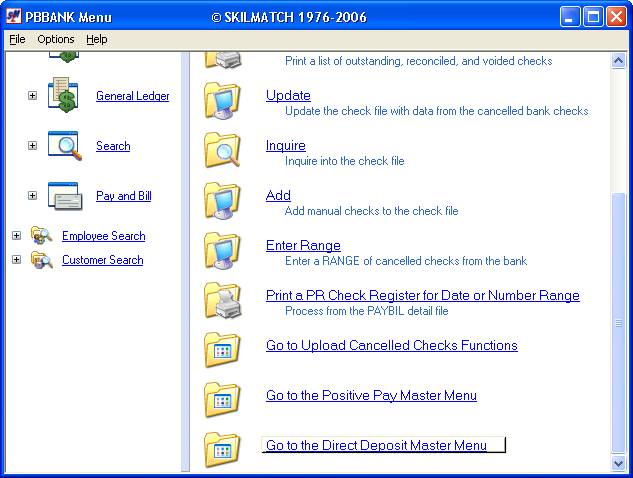
Click [Go to the
Direct Deposit Master Menu].
The screen will display:
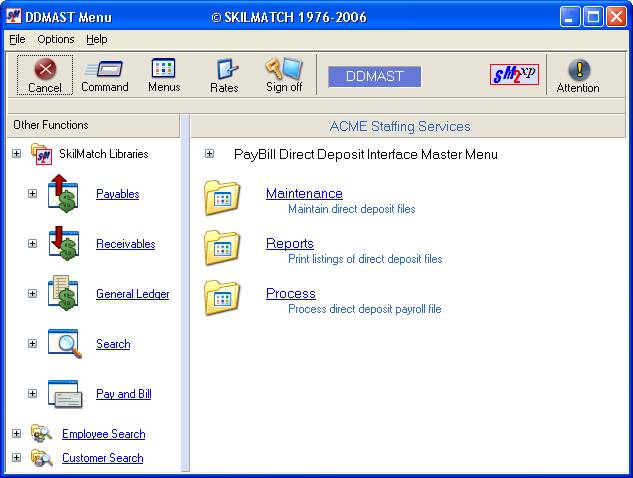
Click [Maintenance].
The screen will display:
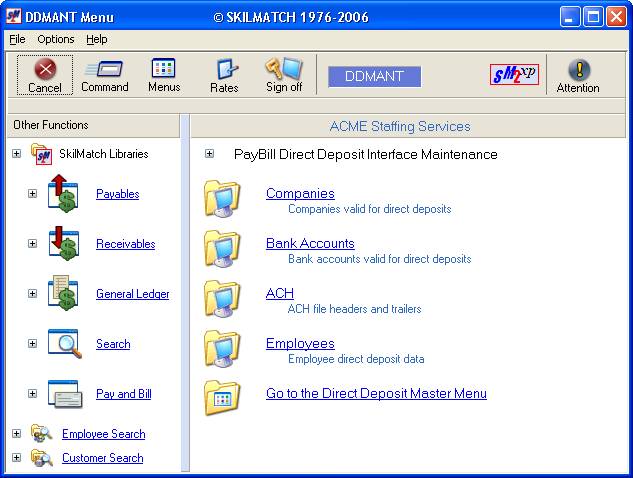
Click [Employees].
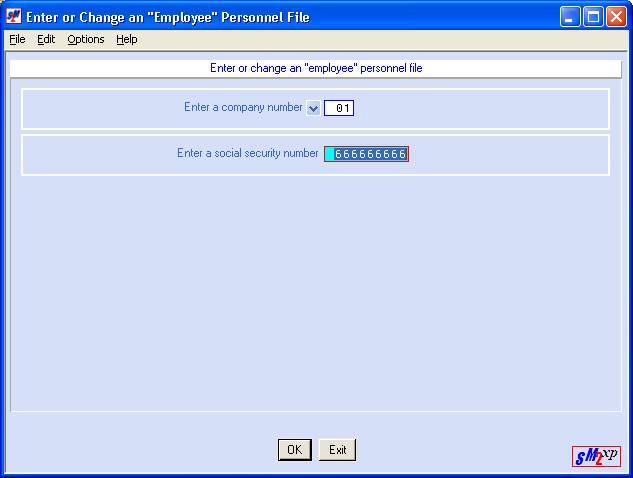
Company:
The system defaults to
Company 01. If you need to make direct
deposit additions or changes to an employee in a different company, <TAB>
back and change the company number.
Social
Security Number:
Key the employee’s
9-digit social security number and click [OK]. Click [Continue] repeatedly until the tax
detail screen displays:
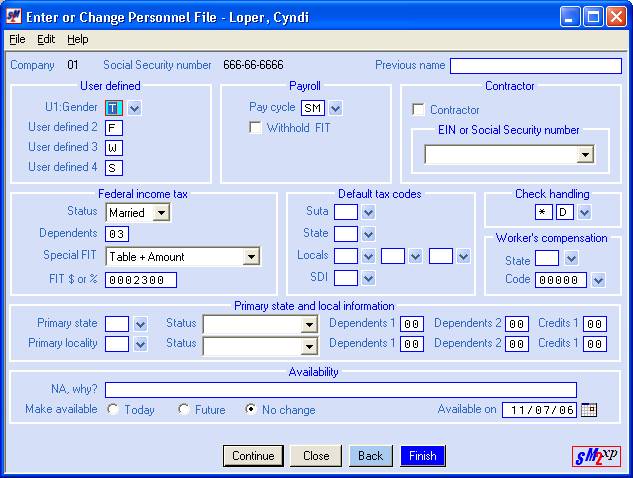
Check Handling:
Key *D as the paycheck hold code. Click [Continue].
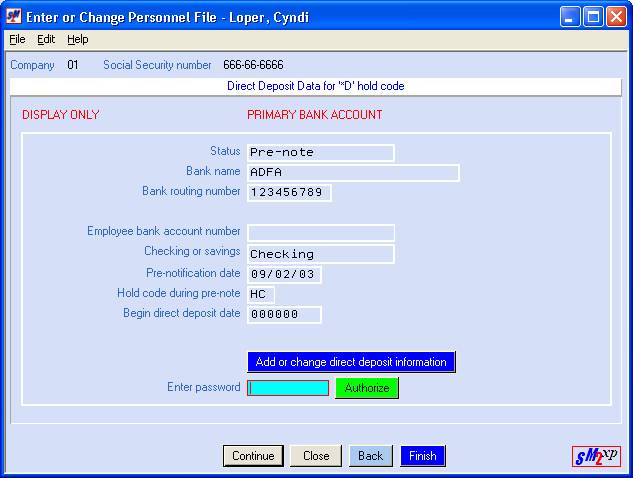
Changes:
If this employee already has
direct deposit data, the current data is displayed.
If this employee does NOT
already have direct deposit data, the screen will display:
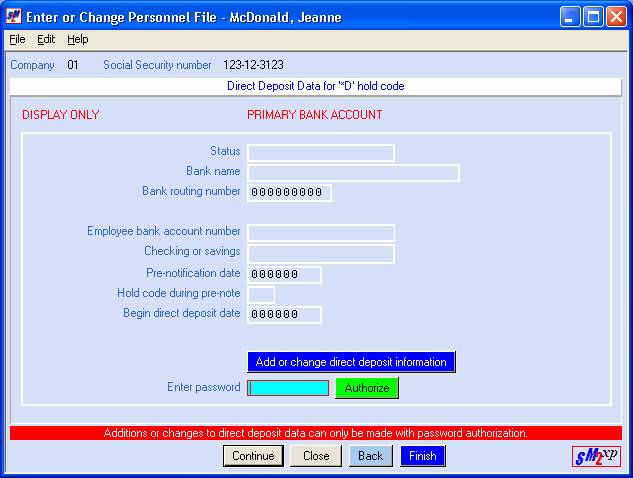
Regardless of whether the employee already has direct
deposit information or not, the system will require a password to
continue. If you need to change
existing direct deposit data, click the [Add or
change direct deposit information] button to get to the password
area.
Enter Password:
Key the same password that you
use when processing a Begin Cycle for this general ledger company, then click [Authorize].
If you do not know the password, refer to Menu
PBMANT, Item Payroll System Requirements.
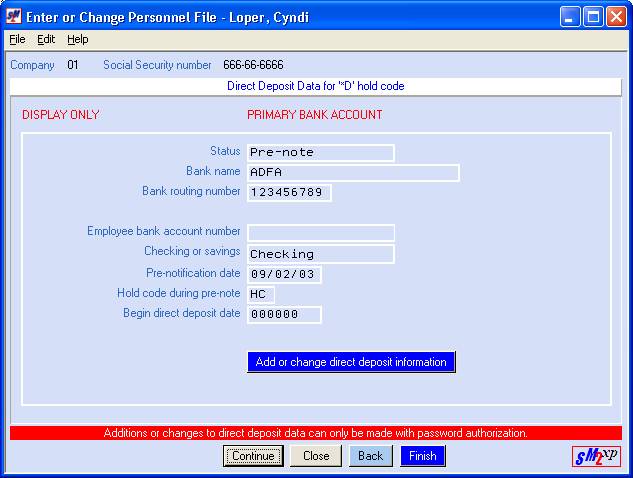
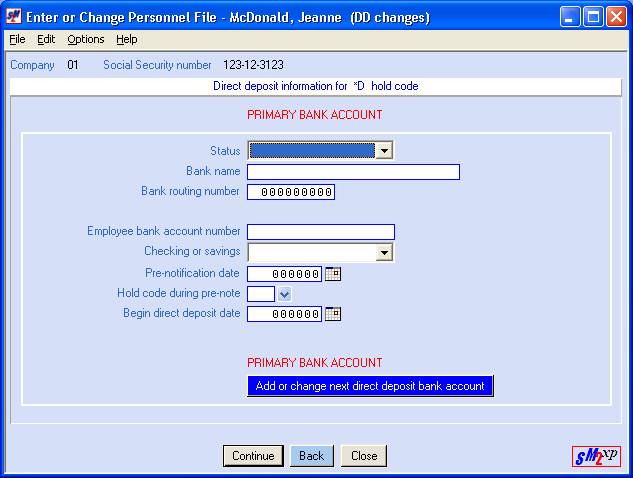
The screen will display the Primary
Bank Account screen. The Primary
bank account will receive 100% of the net pay if it is the only bank
account set up for the employee. If the
Second or Third bank account screens are used, then the Primary account
will receive whatever net pay is left after deposits are made into the other
accounts.
The Primary bank account
screen displays:
If you are updating existing
direct deposit data, the Primary bank account screen will display:
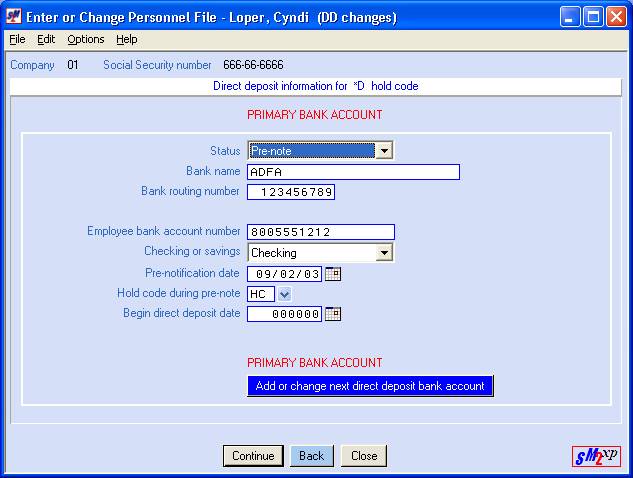
Status:
Select
either Pre-note or Active by clicking the ![]() button (prompt and select button) to the
right of the Status area.
button (prompt and select button) to the
right of the Status area.
Select
Pre-note while in the testing phase of direct deposit for this bank
account. The employee will continue to
receive a printed paycheck while the status is Pre-note.
Select
Active when you are ready to begin depositing net pay to the employee’s Primary
bank account.
Bank Name:
Key the name of the employee's
bank.
Bank Routing #:
Key the 9-digit routing number
of the person's bank.
Employee Bank Account #:
Key up to 17 characters of the
employee's bank account number. If you
do not need all 17 spaces, leave the unused blank spaces to the right of the
account number.
Checking or Savings:
Indicate
whether this is a Checking account or Savings account. Click the ![]() button (prompt and select button) to the
right of the Checking or Savings area.
button (prompt and select button) to the
right of the Checking or Savings area.
Pre-Notification Date:
Key today’s date. Any payroll processed today or after today
will include a pre-note test run of payroll data.
OR
Select a
date by clicking the ![]() button (prompt and select button) to the
right of dates throughout SkilMatch2. The
button (prompt and select button) to the
right of dates throughout SkilMatch2. The ![]() button will display a calendar from which you
may click on a date to select, and then click [OK]
to key the date.
button will display a calendar from which you
may click on a date to select, and then click [OK]
to key the date.
Hold Code During Pre-Note:
Since the employee will continue
to receive a printed paycheck during the pre-note test period, you must add a
valid paycheck hold code to be used during the test period. This code will print on the face of the check,
in addition to the ‘real’ Check Handling code of *D. The only exception to this is when the customer (associated with
the paycheck) has a special Paycheck code.
Key a valid Check Handling code,
OR
Select a
valid paycheck hold code by clicking the ![]() button (prompt and select button) to the
right of the hold code during pre-note area.
button (prompt and select button) to the
right of the hold code during pre-note area.
Begin Direct Deposit Date:
Leave this area blank if the
status selected above shows as PRE-NOTE.
When the pre-note acceptance
period has passed without rejection by the bank, and you are ready to begin the
actual direct deposit of this person's payroll, key the week ending date
that direct deposit should begin. (If
you process a timecard whose week ending is before the date keyed, then the
employee will receive a printed paycheck for that timecard.)
If the employee wants to have
100% of their net pay deposited into the Primary bank account only, click [Continue].
If you do not wish to enter new
direct deposit data, and want to go back and change the hold code to something
other than *D, click [Back].
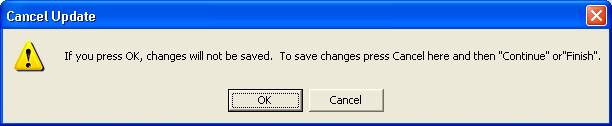
If you click [Close] from this screen, you will be warned
that all changes made will be lost.
Click [OK] if you do not want to save
changes, otherwise click [Cancel].
If the employee wants pay to be
deposited into more than one bank account, click [Add OR
change next direct deposit bank account]. The system will bring up a data entry screen
for the SECOND bank account.
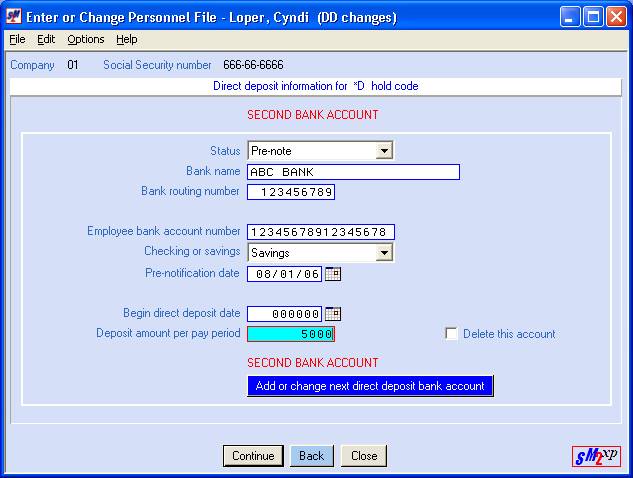
The areas are the same on the Second
bank account screen as they are for the Primary Bank account, with the
exception of the Deposit Amount Per Pay Period. Key a specific dollar amount into this
area. During payroll, if the employee
has net pay equal to or greater this amount, then this amount will be deposited
into the Second bank account. If the
net pay for the pay period is less than the amount designated on this screen,
then the entire net pay will be deposited into the Second bank account.
If you want to go back and make
changes to the PRIMARY bank account, click [Back].
If you click [Close] from this screen, you will be warned
that all changes made to the employee screens will be lost. Click [OK]
if you do not want to save changes, otherwise click [Cancel].

If the employee wants pay to be
deposited into a 3rd bank account, click [Add OR
change next direct deposit bank account]. The system will bring up a data entry screen
for the THIRD bank account.
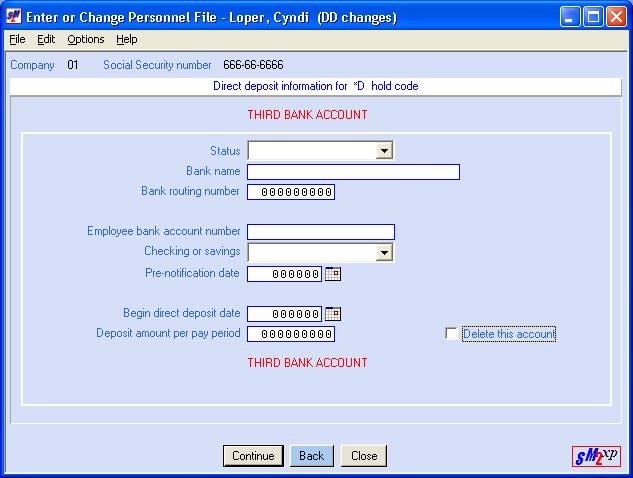
The areas are the same on the Third
bank account screen as they are for the Second bank account. Key a specific dollar amount into this
area. During payroll, the system will
look at the Second bank account and deposit the amount designated. If there is enough net pay left to cover the
amount designated for the Third bank account, then the full amount will
be deposited to this account. Any
remaining net pay will then be deposited to the Primary account.
If you want to go back and make
changes to the SECOND bank account, click [Back].
If you click [Close] from this screen, you will be warned
that all changes made to any of the employee screens will be lost. Click [OK]
if you do not want to save changes, otherwise click [Cancel].

If you want to add the direct
deposit data from the Primary, Second and Third bank accounts, click [Continue].
If you clicked [Continue], the screen will display:
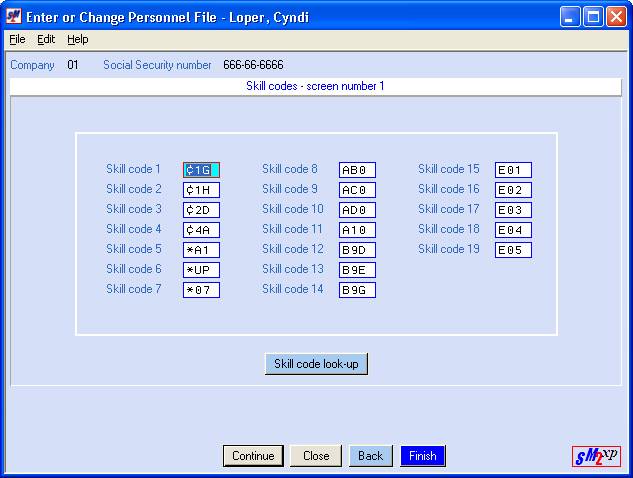
Unless there are changes you
wish to make to the remaining screens in the employee file, you should click [Finish] to complete the adding or changing
of this employee’s direct deposit data.
The screen will display:

If you have additional employee
direct deposit data to enter, key the next social security number, and repeat
the preceding instructions. If you have
finished making direct deposit additions and changes, click [Exit].