CANCELLED CHECKS, Accounts Payable
This option allows you to enter a range of A/P checks that have cleared
your bank account(s).
During A/P processing, A/P checks are posted to the check file. Think of this file as a box that contains a
copy of every check produced through A/P.
When individual checks clear your bank, you want to clear these checks
from your check file in SkilMatch. This
option allows you to mark checks as “reconciled” (affects file CHKREC).
Entering a Range of Checks:
Step 1: Use this option to enter of range of A/P
Check that have cleared your bank account(s).
Step 2: Once you have finished entering your
“reconciled” checks through this option (this option affects CHKREC file), you
will process Menu Bank Functions, Item List Checks, which will produce a report of reconciled, open,
and voided checks currently in the check file.
Step 3: The reconciled checks will be updated and/or
removed from the check file when you process Menu
Bank Functions, Item Update Check File (this
option affects CHKFIL file – updates check status and/or removes the checks).
NOTE: Only one person can enter cleared checks for
a bank account number at a time. The
accounts may belong to the same company number; they must be different
accounts. If you choose to allow this,
be aware that you CANNOT process Menu Bank Functions, Item Update Check File with
users in ANY AP Bank Function option for ANY
company.
There is no report produced as a result
of this option. You will need to process Menu Bank Functions, Item List Checks, far a report of reconciled, open, and voided checks
currently in the check file.
To begin, select the [Bank Functions] menu in the Accounts Payable library.

The screen will display:
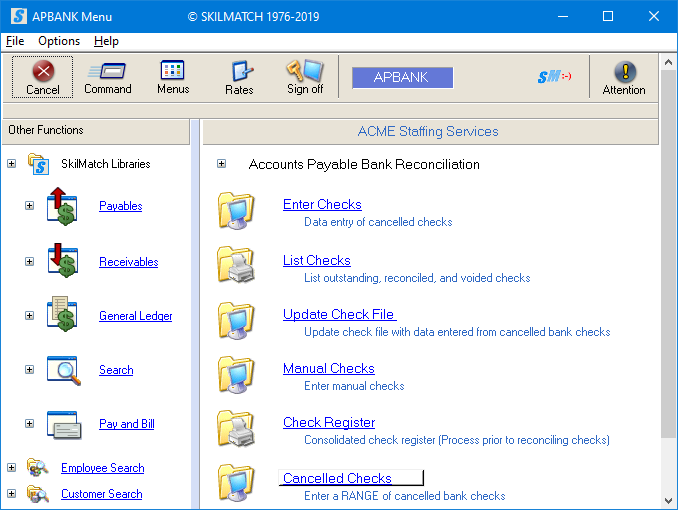
Click [Cancelled Checks], the screen will display:
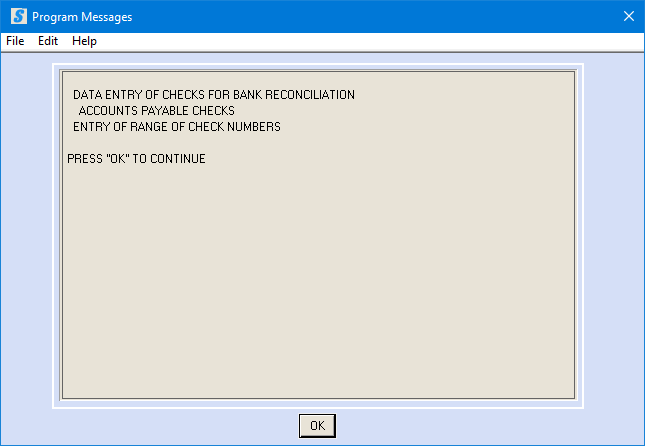
Click [OK], the screen will display:
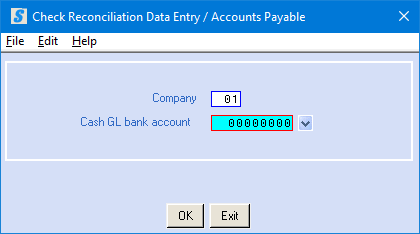
Company
Number:
Defaults to company 01. To reconcile checks for a different company,
key the desired company number.
Cash G/L Bank Account:
Key the bank account number from which the checks were issued.
OR
Search for a
valid G/L account number by clicking the ![]() button (prompt and select) to the right of the
G/L bank account number.
button (prompt and select) to the right of the
G/L bank account number.
To cancel and return to menu, click [Exit]. You will be returned to the “PayBill Library
Bank Reconciliation” menu.
OR
To proceed, click [OK].
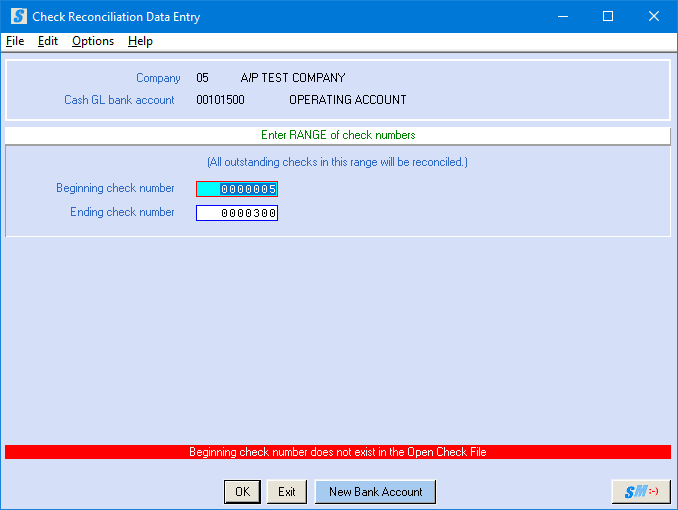
The screen will display:

Beginning Check Number:
Key the first check number in the series of consecutive numbers that
have cleared the bank.
Ending Check Number:
Key the last check number in the series of consecutive numbers that
have cleared the bank.
NOTE: All checks
number between the two numbers entered will be marked for reconciliation.
To cancel and return to menu, click [Exit]. You will be returned to the “PayBill Library
Bank Reconciliation” menu.
OR
To work with a different cash account, click [New Bank Account]. You will be returned to the previous screen
where you may enter a different cash account number.
OR
To proceed, click [OK].
When you key check numbers and click [OK] to mark as reconciled,
you will return to the same screen for opportunity to key additional check
range or a new bank account number. The
screen will display:

To key an additional check range and ADD more check numbers to be reconciled, key beginning and ending
check numbers and click [OK].
These checks will now be marked as reconciled.
OR
To key a check range for a New
Bank Account, click [New Bank Account].
OR
When completely finished with entry, proceed to Exit
instructions for further assistance.
Continue this step till all checks have been marked as reconciled. The exit option will produce an edit report
to review and confirm correct.
Possible Error/Invalid Check
Number:
If you enter a nonexistent check number, or one that has been
reconciled previously, the screen will display:
Make the necessary correction and click [OK] again.
When all checks for all bank accounts have been entered, click [Exit].
You will return to the “Accounts Payable Bank Reconciliation”
menu.
There is no report produced as a result
of this option. You will need to process Menu Bank Functions, Item List Checks, far a report of reconciled, open, and voided checks
currently in the check file.