REVERSE INVOICE
This option is used to reverse an incorrect invoice THAT HAS NOT BEEN
PAID.
Before beginning, you will need the reference number that is
associated with the already-entered invoice that was paid. This can be obtained through Menu Disbursements,
Item List Payables, or off your A/P Ageing Report.
To
begin, select [Transactions] menu in the
Accounts Payable Library.
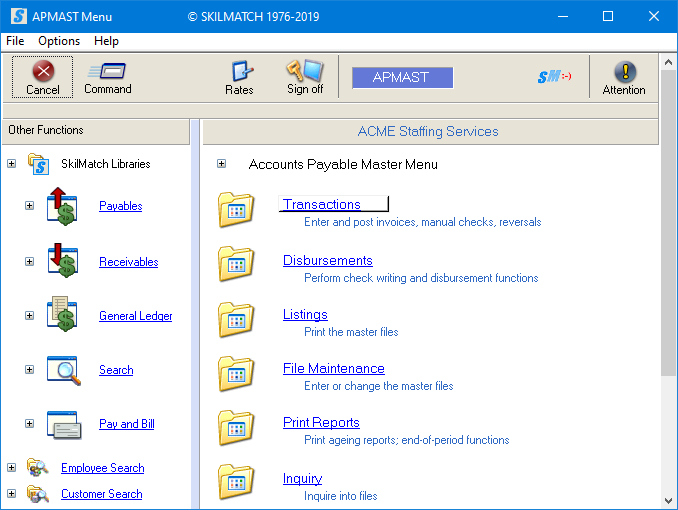
The
screen will display:
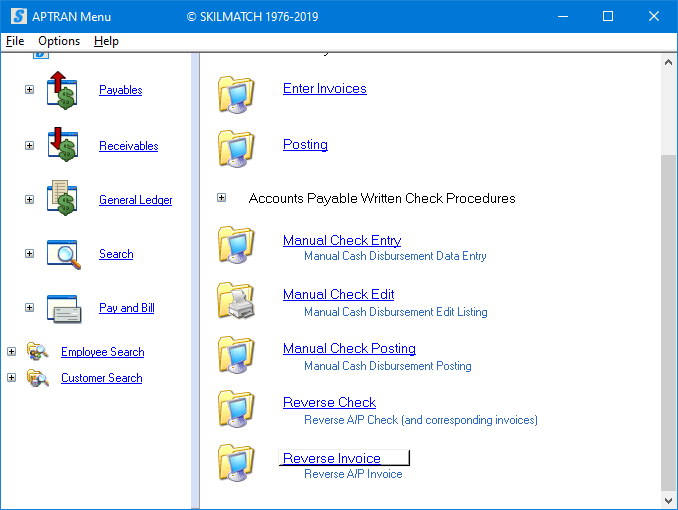
Scroll down and
select [Reverse Invoice], the screen will display:
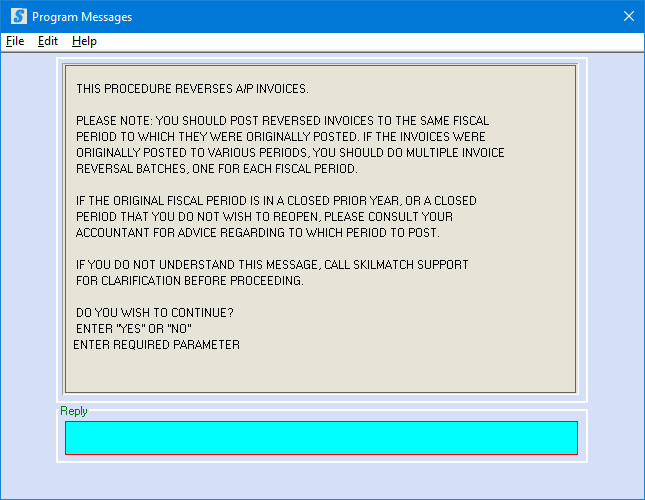
To cancel reversal, key NO and press [Enter].
OR
To continue reversal of invoice, key YES and press [Enter].
If you keyed YES to
continue, the screen will display:
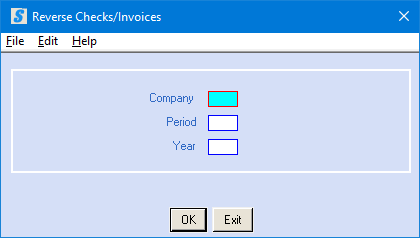
Company:
Key the desired company number.
Period:
Key the fiscal period associated with the invoice.
Year:
Key the business year associated with the invoice.
To cancel and return to menu, click [Exit]. You will be returned to the “Accounts Payable
Transaction Processing” menu.
OR
To proceed, click [OK].
If you select [OK] to
continue, the screen will display:
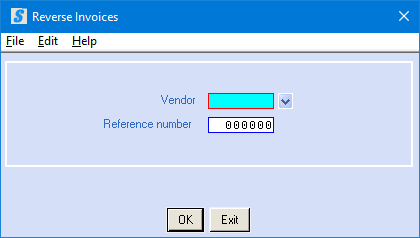
Vendor:
Key the vendor associated with this invoice.
Reference Number:
Key the reference number associated with the invoice.
NOTE: This can be
obtained through Menu Disbursement,
Item List Payables, or off your A/P Ageing Report.
To cancel and return to menu, click [Exit]. You will be returned to the “Accounts Payable
Transaction Processing” menu.
OR
To proceed, click [OK].
If the invoice has already been paid, the screen will display:
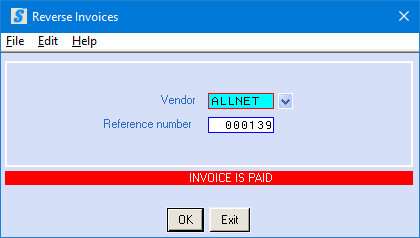
Click [Exit]. You will be returned to the “Accounts Payable
Transaction Processing” menu.
NOTE: To reverse
an invoice that has already been paid (and the associated check), refer to
document Menu Transaction,
Item Reverse Check.
If the invoice has NOT been paid, the screen will display:
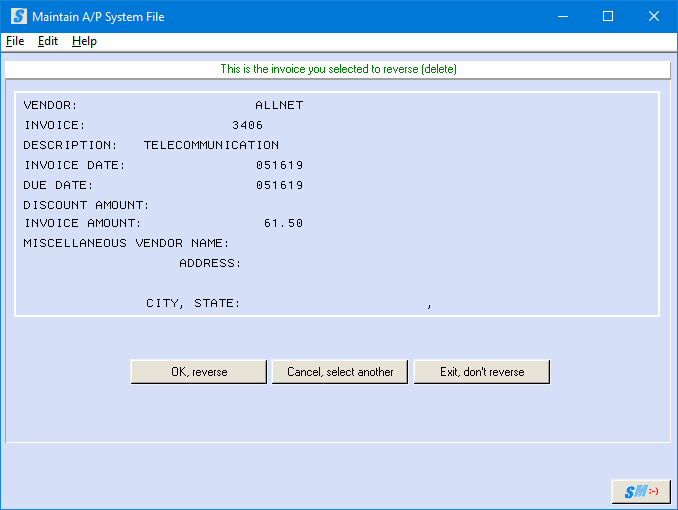
NOTE: You may NOT change the invoice.
IMPORTANT: STOP and
CONSIDER, there is no separate posting function when reversing an
invoice; it is automatically posted when you exit the option.
You may:
If this is NOT the invoice you wish to reverse, click [Cancel, select another]. You will return to the previous screen where
you may try again.
OR
If you do not wish to reverse any invoices, click [Exit, don’t reverse]. You will be returned to the “Accounts Payable
Transaction Processing” menu.
OR
If this is the invoice you wish to reverse, click [OK, reverse].
If you select to reverse the invoice, the record will be marked for
deletion. You will be returned to the
vendor code/reference number screen for the next selection.
IMPORTANT: STOP and
CONSIDER, there is no separate posting function when reversing an
invoice; it is automatically posted when you exit the option.
If you select [OK, reverse] to
continue, the record will be marked for deletion and you will return to
the selection screen to make another selection or [Exit].
The screen will display:
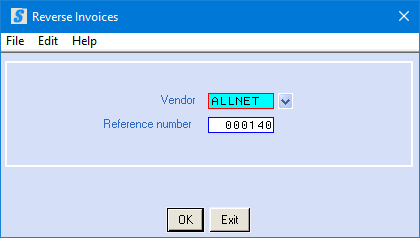
To proceed with selecting additional invoices to remove, key next Reference
number and click [OK].
OR
To end selection and REMOVE invoices and return to menu, click [Exit]. There is no separate posting function when reversing an invoice, all
invoices selected for deletion will automatically be posted when you exit the
option.
You will be
returned to the “Accounts Payable Transaction Processing” menu after selecting.
IMPORTANT: STOP and
CONSIDER, there is no separate posting function when reversing an invoice; it
is automatically posted when you exit the option.
A report of reversed checks (APIVVR) may be found in your output queue.
You may re-enter this invoice through Menu Transactions,
Item Enter Invoices.