ENTER CHECKS, Accounts Payable
This option allows you to enter Accounts Payable checks that have
cleared your bank account(s).
During A/P processing, A/P checks are posted to the check file. Think of this file as a box that contains a
copy of every check produced through A/P.
When individual checks clear your bank, you want to clear these checks
from your check file in SkilMatch. This
option allows you to mark checks as “reconciled” (affects file CHKREC).
Entering Checks:
Step 1: Use
this option to enter A/P checks that have cleared your bank account(s).
OPTIONAL: You can also use the option Menu Bank Functions, Item Cancelled Checks
to enter a range of check numbers to reconcile.
Step 2: Once
you have finished entering your “reconciled” checks through this option (this
option affects CHKREC file), you will process Menu
Bank Functions, Item List Checks, which will produce a report of reconciled, open,
and voided checks currently in the check file.
Review Bank Reconciliation
report (AP610P) and make changes as
needed, see “Errors on Report” below.
Step 3: Once
reviewed and approved, the reconciled checks will be updated and/or removed
from the check file when you process Menu Bank Functions, Item Update Check File (this
option affects CHKFIL file – updates check status and/or removes the checks).
NOTE: Only one person can enter cleared checks for
a bank account number at a time. The
accounts may belong to the same company number; they must be different
accounts. If you choose to allow this,
be aware that you CANNOT process Menu Bank Functions, Item Update Check File with users in ANY A/P
Bank Functions option for ANY company.
To begin, select the [Bank Functions] menu in the Accounts Payable library.
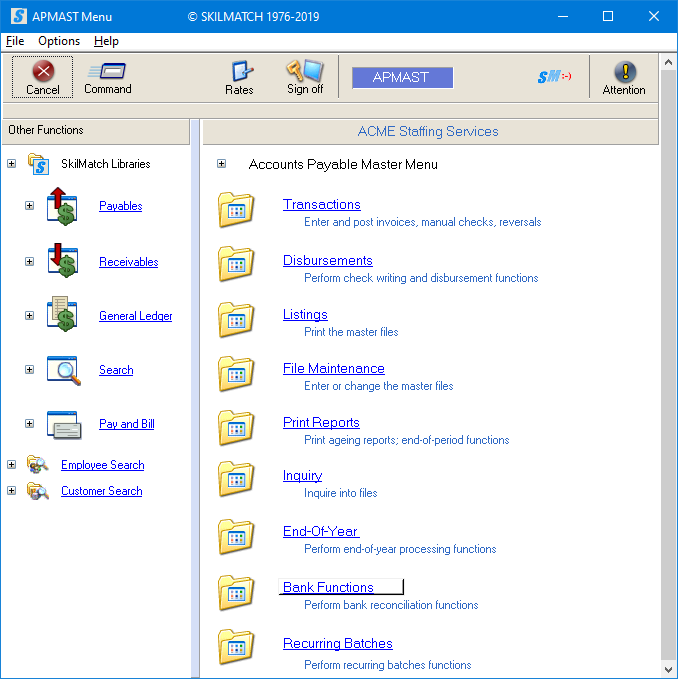
The screen will display:

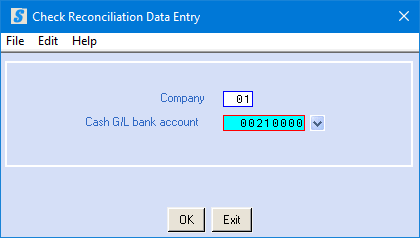
Click [Enter Checks], the screen will display:
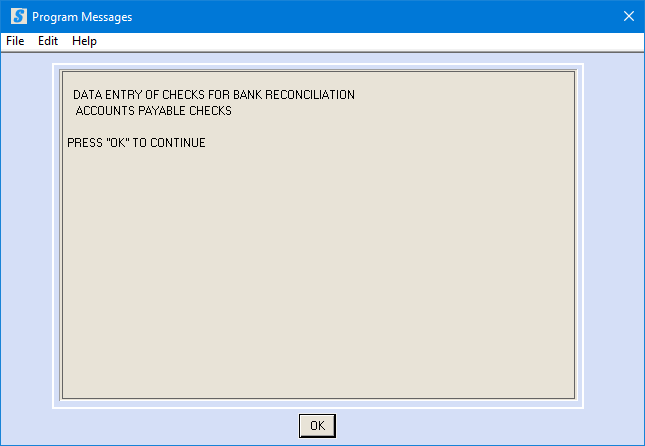
Click [OK], the screen will display:
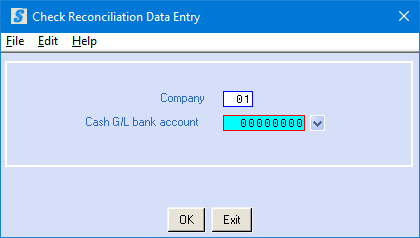
Company:
Defaults to company 01. To reconcile checks for a different company,
key the desired company number.
Cash G/L Bank Account:
Key the bank account number from which the checks were issued.
OR
Search for a
valid G/L account number by clicking the ![]() button (prompt and select) to the right of the
G/L bank account number.
button (prompt and select) to the right of the
G/L bank account number.
The screen will display:
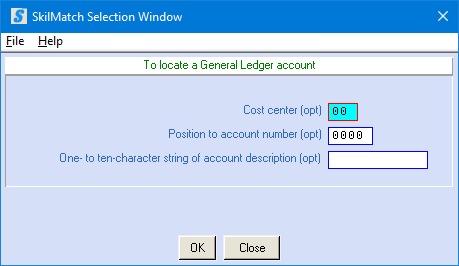
To locate a G/L account number you can enter a 2-digit cost center AND/OR a 4-digit account number AND/OR 1-10 characters of the account description.
To continue to locate a G/L account, click [OK].
OR
To cancel and return to previous screen, click [Close].
If you select [OK] to continue, the screen will display:
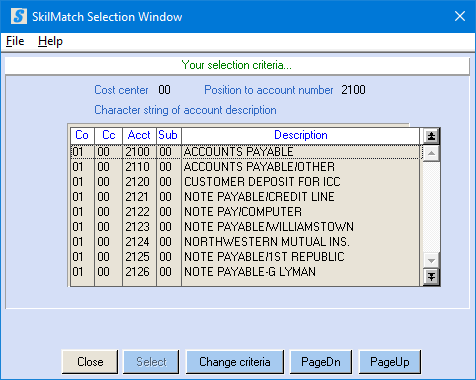
If you do not see the code you want, and the [PageDn] button is not grayed out, then click [PageDn] to view more. If you page down past a screen of selections, and wish to go back a screen, then click [PageUp]. When you see the account you want to use, either <DOUBLE-CLICK> on the description, or highlight and click [Select]. To return to the previous screen to change selection criteria, click [Change criteria]. To not select a code, click [Close] and you will be returned to the initial check reconciliation screen.
If you click [Select] to accept an account and continue, the screen will display:
To accept account number and continue, click [OK].
OR
To cancel and return to main menu, click [Exit].
If you select [OK] to continue, the screen will display:
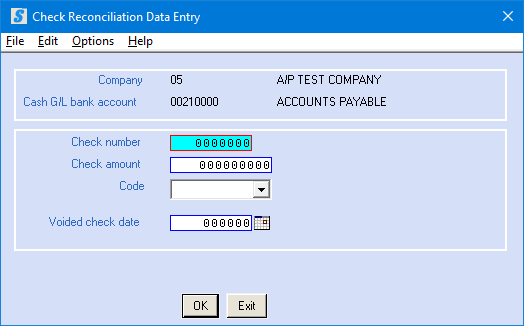
Check Number:
Key the check number assigned to this check by the
system. Use the check number printed on
the check, not the pre-printed check number.
Check Amount:
Key the amount of the check. Use
the amount cleared by the bank (the amount coded at the bottom of the check),
not the SkilMatch-generated amount. The
coded amount is the amount actually cleared by the bank; it does not always
match the issued amount of the check.
Code:
Select a code by clicking the ![]() button (prompt and select button) to the right
of the code area to select from the 3 options available.
button (prompt and select button) to the right
of the code area to select from the 3 options available.
OR
Key R (Reconciled displays in field) if this check is to
clear the account.
OR
Key V (voided displays in field) if you are voiding this
check.
OR
Key D (deleted displays in field) if you are removing
this check from the list marked for reconciliation.
Voided Check Date:
If you selected Voided as the code above, key voided check date
(without punctuation).
OR
Select a date by clicking the ![]() calendar button to the right of dates. The
calendar button to the right of dates. The ![]() button will display a calendar from which you
may click on a date to select, and then click [OK]
to key the date.
button will display a calendar from which you
may click on a date to select, and then click [OK]
to key the date.
OR
If you selected Reconciled
or Deleted as the code above, leave this area blank.
To continue, click [OK].
OR
To cancel and return to main menu without saving changes, click [Exit].
If you select [OK] to continue and errors were detected, refer to Possible
Errors for further assistance.
If you select [OK]
to continue and if there were no
errors in your entry (the check exists in the check file, the amount entered
matches the amount of the check in the check file, and the code entered is a
valid code), the screen will display:
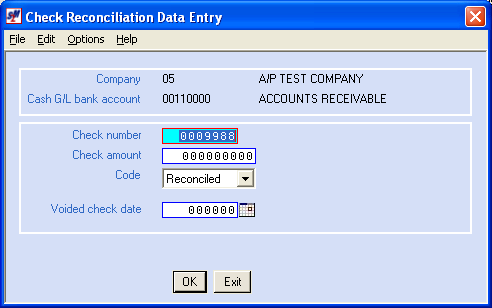
NOTE: The
previous check number appears in field to help you keep your place in entering
check numbers, but the amount has been cleared.
If you have another cleared check to enter, key over the check number
displayed.
Continue with entry, following the steps outlined above until all the
cleared/voided (and optionally deleted) checks for this bank account number
have been entered.
If you have checks to enter for another bank account proceed to Another Bank Account for further assistance.
When completely finished with entry, proceed to Exit
instructions for further assistance.
There is no report produced as a result
of this option. You will need to process Menu Bank Functions, Item List Checks, for a report of reconciled, open, and voided checks
currently in the check file.
Possible Error/Invalid Check
Number:
“Entered Check Number Does Not
Exist in the Open Check File.”
If you enter a nonexistent check number, or one that has been
reconciled previously, the screen will display:
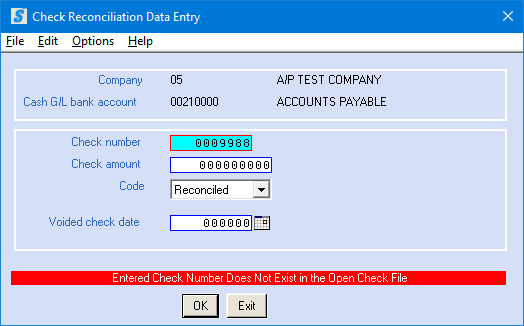
Make the necessary correction and click [OK] again.
Possible Error/Incorrect Amount:
“Check Amount Entered Does Not
Match Amount in Open Check File”
If the banks reconciled amount does not match the
issued amount of the check, the screen will display:
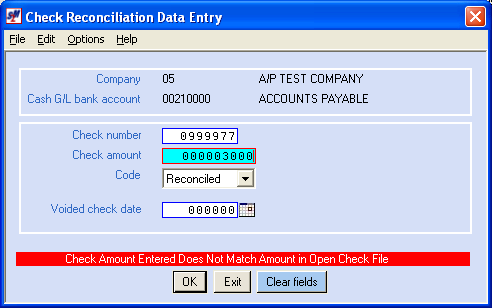
This WARNING
message is intended to FLAG any checks that may have cleared the bank for an
amount different then issued in SkilMatch.
Confirm check amount AND be sure to RESEARCH check(s) to verify why amount paid by bank is not
equal to the amount issued in SkilMatch.
NOTE: If
check is cleared by the bank for an amount other than the amount issued in SkilMatch,
then General Ledger journal entries will need to be made to reflect the
difference.
If amount entered incorrectly, click [Clear Fields] to clear the
check amount area and try again.
OR
Key the correct check amount over the incorrect amount displayed.
Possible Error/Invalid Code:
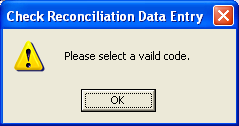
Click [OK] to return to the entry screen where you may select a
valid code (Reconciled, Voided and Deleted).
If you have checks to enter for another bank account, click “Options”
and then select “New Bank Account”. You
will be returned to the initial screen, where you may key another bank account
number to clear checks in that account.
When all checks for all bank accounts have been entered, click [Exit]. You will return to the “Accounts Payable Bank
Reconciliation” menu.
There is no report produced as a result
of this option. You will need to process Menu Bank Functions, Item List Checks, for a report of reconciled, open, and voided checks
currently in the check file.