MANUAL CHECKS, Accounts Payable
This option permits the entry of A/P check information directly into
the bank reconciliation file (in the event it was not posted through the manual
cash disbursement posting). This option
allows you to add checks to the A/P check file without affecting the general ledger.
NOTE: Your Cash
Disbursement Edit list should have had
a message saying "Record not added to bank
file" for you to have need to
use this option.
The System Audit lob (QPDZDTALOG) is produced and available
in your output queue as a result of this menu option.
HOW TO ADD CHECKS TO THE CHECK FILE
NOTE: If you have more than 10
checks to add, SkilMatch recommends you group them in batches (maximum 10
checks per batch). Run a ten-key total
on each batch. After a batch has been
entered, display the batch accumulator totals.
Compare the batch accumulator totals on the screen with your ten-key
totals for verification of accuracy. If
they match, click [Cancel] to continue entering additional checks. Refer to Batch
Accumulators for assistance with this feature.
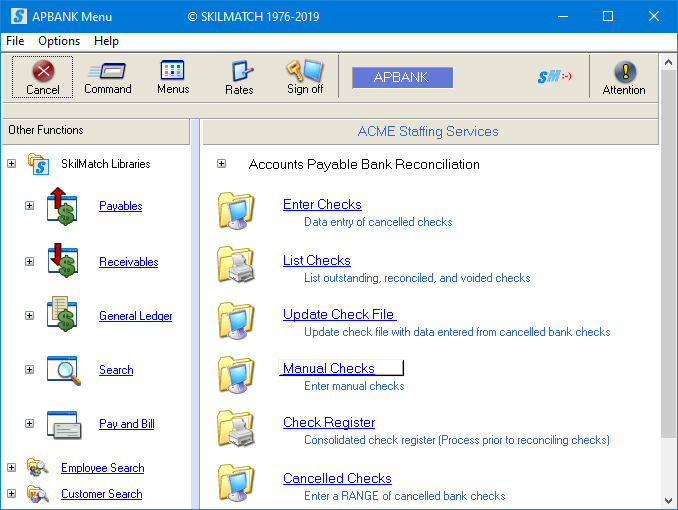
To begin, select the [Bank Functions] menu in the Accounts Payable library.
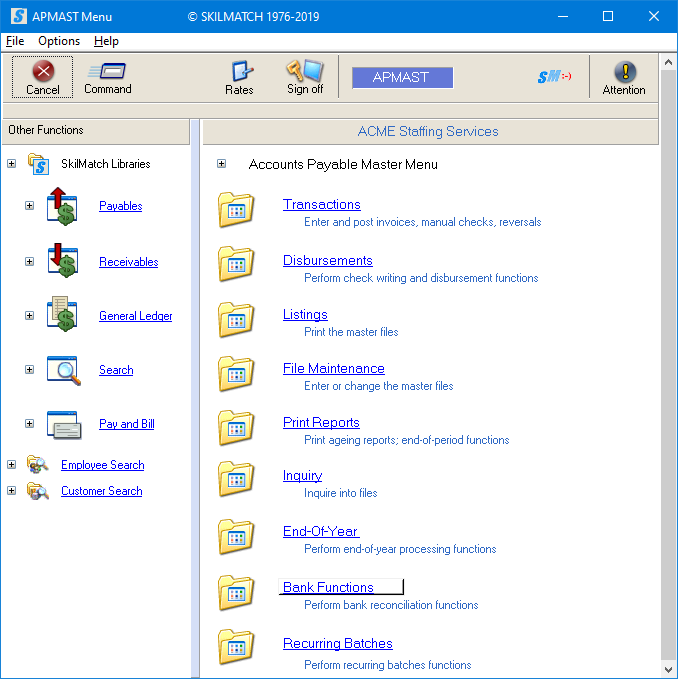
The screen will display:

Click [Manual Checks], the screen will display:
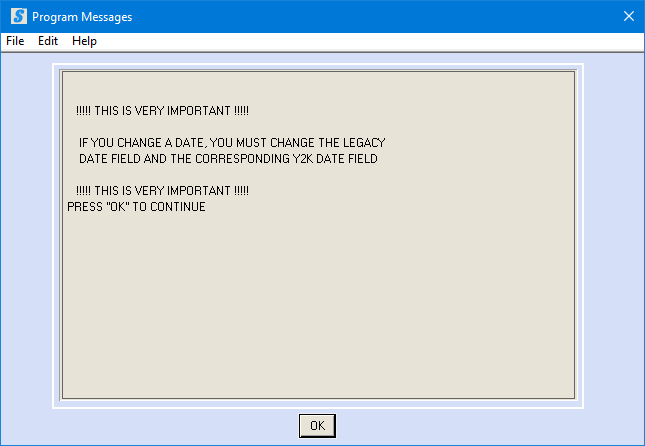
NOTE: If you change a date,
you must change the legacy date field (MMDDYY format) and the corresponding Y2K
date field (YYYYMMDD format).
Read, understand and key the information as explained to enter
correctly.
Click [OK] to continue, the screen
will display:
NOTE: Any check
added through this option will NOT add
the amounts to the general ledger.
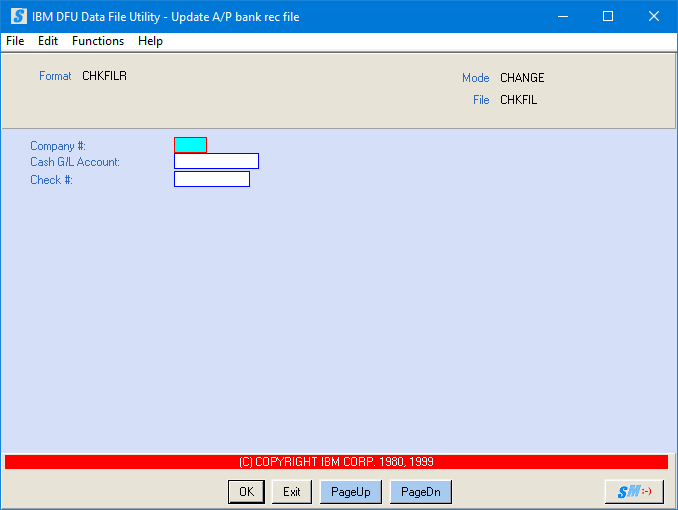
If the screen appears in CHANGE
mode (refer to upper right corner of screen), click “Functions” and then select “Entry
Mode” to change to ENTRY mode.
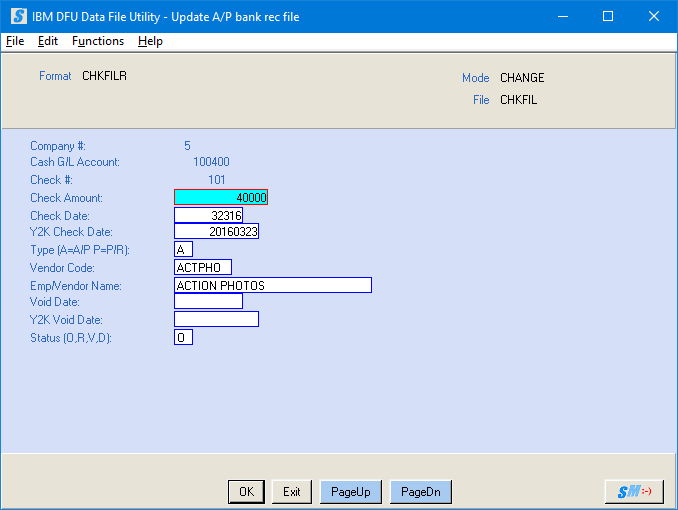
The screen will display:
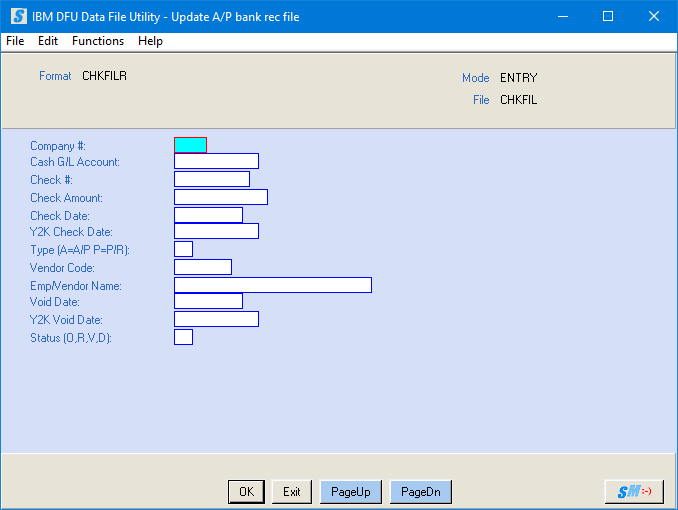
Company #:
Key the desired company number for the check you wish to add.
Cash G/L Account:
Key the desired cash account for the check you wish to add (the account
the check was written from).
Check #:
Key the check number for the check you wish to add.
Check Amount:
Key the net amount of the check.
Do not key a decimal, but do key zeroes to hold decimal places, if
necessary. Example: $50.00 would be
keyed 5000; $50.55 would be keyed 5055.
Check Date:
Key the date of the check in MMDDYY
format (without punctuation). Example: April
07, 2023 would be keyed 040723.
Y2K Check Date:
Key the Y2K date of the check in YYYYMMDD
format (without punctuation) that needs to be added to the A/P bank rec
file. Example: April 07, 2023 would be entered 20230407.
Type:
Only A/P checks should be added to the check file through this
option. Key A.
NOTE: To add a payroll check to the check file,
refer to Menu Bank Functions, Item Add.
Vendor Code:
Key the six-digit vendor code to whom the check was written.
Vendor Name:
Key the vendor name associated with the code above.
Void Date:
Leave this area blank.
Y2K Void Date:
Leave this area blank.
Status (O,R,V,D)
If this check is open (has not cleared the bank, not voided, not
deleted), key 0 for open.
OR
If this check has cleared the bank, key R for reconciled.
OR
If this check has been voided, key V
for voided.
OR
If this check has been deleted, key D for deleted.
OR
To cancel and return to menu, click [Exit]. The check will NOT be added to the bank
reconciliation file. You will be
returned to the “Accounts Payable Bank Reconciliation” menu.
To continue adding this check to the check file, click [OK].
You will be presented a blank entry screen for the next check. If you have additional checks to enter,
proceed using the instructions above.
Batch Accumulators:
When you have finished entering a batch (maximum of 10 checks in a
batch per SkilMatch’s recommendation), check your batch totals to verify you
are in balance.
Click [Exit], the screen will display:
Check the data on the screen against your own totals.
To return to data entry, click [Close].
OR
To display batch totals or to continue
ending the job, click [OK].
If you click [OK] to
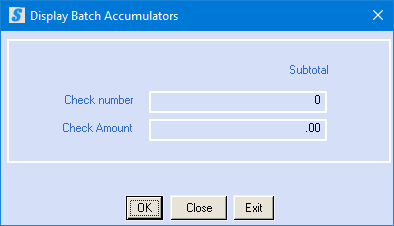
continue exiting the menu option, the screen will display, Subtotal:
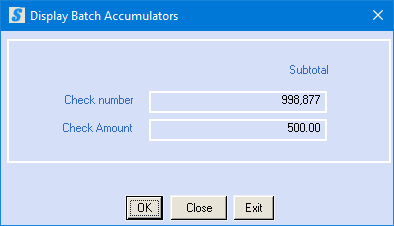
The screen will display the BATCH
ACCUMULATORS screen. You may check
the total of the data you entered into the system against your own 10-key
totals.
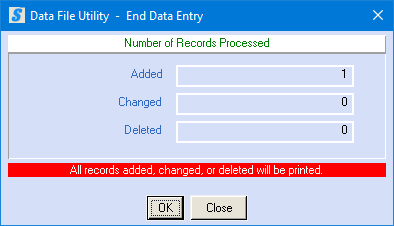
To continue entering additional batches, click [Close]. At the ‘Data File Utility – End Data Entry’
screen, click [Close] again. Make sure you are still in entry mode; you
may continue with the next batch.
Continue with this procedure until all batches are entered. If your batches are not in balance, go back
into the file in update mode and make the necessary corrections.
OR
If you are finished entering A/P checks and
wish to display the total of ALL batches entered, click [OK].
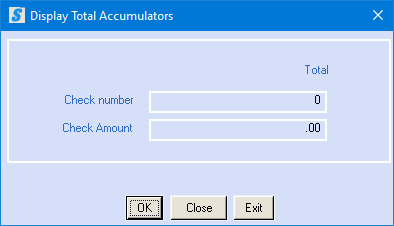
The screen will display, Total:

The screen will display the TOTAL
ACCUMULATORS; a total of all batches entered.
To return to the previous screen, click [Close].
OR
To return to the “Accounts Payable Bank Reconciliation” menu, click [Exit] or [OK].
The System Audit lob (QPDZDTALOG) is produced and available
in your output queue as a result of this menu option.
HOW TO CHANGE CHECK DATA IN THE A/P
CHECK FILE
If any of the data you entered is incorrect, you may correct it by
going back into Menu Bank Functions, Item Manual Checks.
To begin, select the [Bank Functions] menu in the Accounts Payable library.
Click [Manual Checks], the screen will display:
NOTE: If you change a date, you must change the legacy date field
(MMDDYY format) and the corresponding Y2K date field (YYYYMMDD format).
Read, understand and key the information as explained to enter
correctly.
Click [OK] to continue, the screen
will display:
NOTE: Any check
added through this option will NOT add
the amounts to the general ledger.
The screen will appear in CHANGE
mode (refer to upper right corner of screen).
To make a change to check data in the check file, stay in CHANGE mode.
Company #:
Key the desired company number for the check you wish to add.
Cash G/L Account:
Key the desired cash account for the check you wish to add (the account
the check was written from).
Check #:
Key the check number for the check you wish to update.
To access the specified check in the check file, click [OK].
OR
When you are finished changing checks in the check file, click [Exit] to exit.
If you click [OK]
to continue, the screen will display:
NOTE: If you do not see the check number desired, click
the [PageDn]
button and [PageDn]
to view more. Careful not to unintentionally make any changes to checks that are in the
system.
When you locate the check you want to change, move your cursor to the
incorrect field, make the correction and click [OK]. You can review the documentation above (ADD a check/ENTRY mode) for questions regarding the field descriptions.
OR
To cancel and return to the “Accounts Payable Bank Reconciliation”
menu, click [Exit].
If you click [OK]
to continue, the screen will display:

Check the data on the screen against your own totals.
End Data Display:
To continue ending the job, click [OK],
the screen will display:
The screen will display the BATCH
ACCUMULATORS screen. You may check
the total of the data you entered into the system against your own 10-key
totals.
To return to the previous screen, click [Close].
OR
To return to the “Accounts Payable Bank Reconciliation” menu, click [Exit].
You will bypass the Total Accumulators screen and return to menu.
OR
To display the Total Accumulators screen, click [OK]. The screen will display:
The screen will display the TOTAL
ACCUMULATORS screen that displays a total of all batches entered.
To return to the previous screen, click [Close].
OR
To return to the “Accounts Payable Bank Reconciliation” menu, click [Exit]
or [OK].
The System Audit lob (QPDZDTALOG) is produced and available
in your output queue as a result of this menu option.