INTRODUCTION TO SETTING UP THE GENERAL LEDGER
The following steps should be
taken to set up the general ledger in SkilMatch.
1. Design (but do not enter)
general ledger account numbers (refer to document Menu
GLMANT, Item Accounts.
2. Design (but do not enter)
your financial statement tailoring (refer to document Menu
GLMANT, Item Tailoring).
3. Enter company names (refer to
document Menu
GLMANT, Item Company).
4. Create and enter names
for the cost centers (refer to Menu
GLMANT, item Cost Center Descriptions).
5. Enter general ledger account
numbers for the balance sheet accounts and one cost center (refer to document Menu
GLMANT, Item Accounts).
6. Use the system to create the
additional cost center account numbers (refer to document Menu
GLMANT, item Copy Chart of Accounts).
7. Add and delete account
numbers to the completed Chart of Accounts (refer to document Menu
GLMANT, item Accounts).
8. Enter financial statement
tailoring (refer to document Menu
GLMANT, Item Tailoring).
9. Set retained earnings numbers
for current and prior year earnings (refer to Menu
GLMANT, Item Retained Earnings).
10. Set group number for
percentage calculations (refer to Menu
GLMANT, Item Set Group).
11. (Optional) Establish
consolidations (company and/or cost center) (refer to Menu
GLMANT, Item Consolidations) or (Menu
GLMANT, Item Cost Center Consolidations).
12. Enter budget and/or prior
year data (refer to Menu
GLMANT, Item Budgets and Prior and Menu
GLMANT, Item Duplicate Budget).
13. Activate budget and/or prior
year data (refer to Menu
GLMANT, Item Activations).
14. (Optional) Enter beginning
balances (refer to documentation concerning ‘Beginning Balances in General
Ledger’ in document Menu
GLJOUR, Item Data Entry).
15. (Optional) Maintain valid
posting periods for all SkilMatch accounting applications (refer to Menu
GLMANT, Item GL Posting Periods).
MAINTAINING
COST CENTER CONSOLIDATIONS
When you print financial
statements, you have a choice of printing either a single Income Statement that
combines ALL G/L divisions (cost centers), or you will get one Income Statement
per cost center (division/department).
Use the Cost Center
Consolidations to create Income Statements that combine 2 or more G/L
divisions, or to exclude G/L divisions.
Examples:
Include all cost center
divisions, but exclude the G & A division
If you have numerous
offices within numerous states, create an Income statement for a single state
If your temp divisions
are separate cost centers from your direct hire divisions, create an Income
statement for just temp.
Before you begin, all cost centers must have been assigned
a description. You will NOT be allowed
to consolidate a cost center unless it has a description. (refer to Menu
GLMANT, item Cost Center Descriptions)
To
begin, on the “General Ledger Master” menu, click [Maintenance].
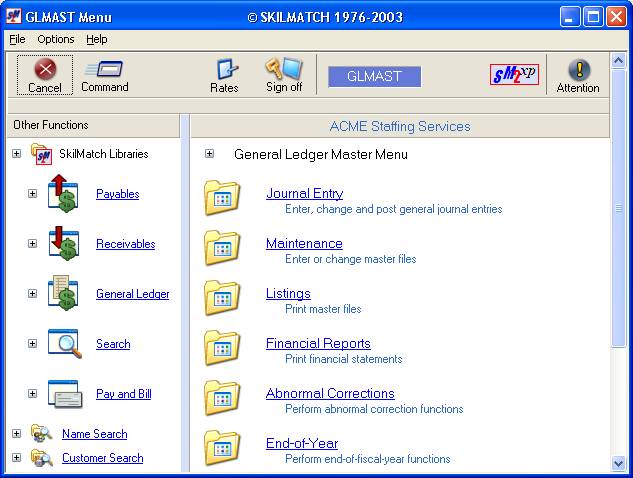
The
screen will display:
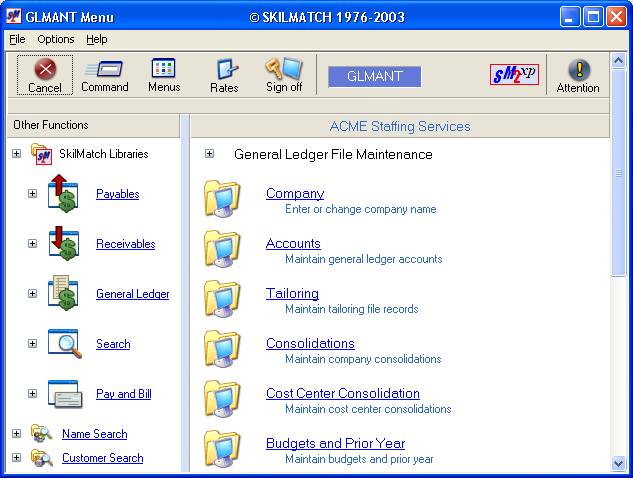
Click [Cost Center Consolidation].
The screen will display:
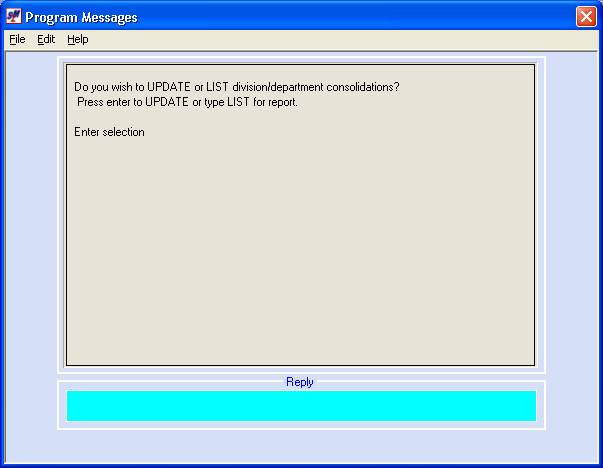
Update or List
If
you want to print a list of existing division/department consolidation names,
key LIST and press [Enter]. If selected, you will return to
menu, and the report will be sent to your outqueue.
If
you want to add new or change existing division/department consolidation names,
key UPDATE and press [Enter].
If selected, the following screen will display:
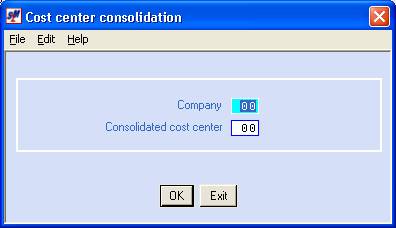
Company Number:
Key the company number whose
cost centers (division/department) you are going to consolidate.
Press
the <TAB> key for additional keying.
Consolidated Cost Center:
Key the two-digit Master
Division/Department Consolidator number that you plan to use for this group of
cost centers.
To proceed, click [OK].
The screen will display:
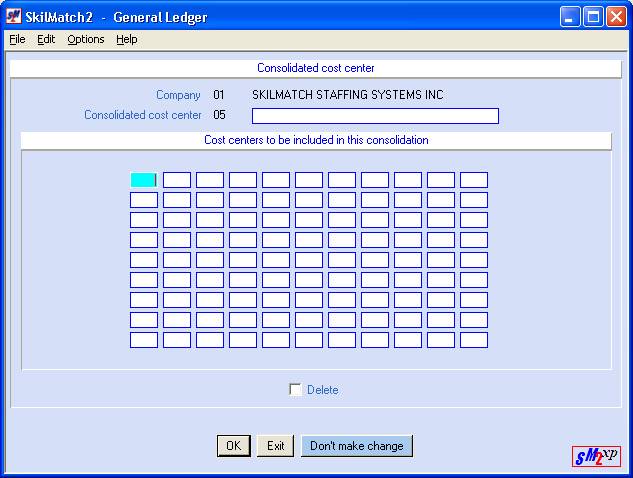
Consolidated Cost Center
Key
up to 30 characters that describe this consolidation.
Cost Centers to be included in
this consolidation:
Key up to 89 division/department
two-digit numbers that will be part of this consolidated report group. Do not leave empty fields between entries.
Press
the <TAB> key to move to next area.
To add this consolidator, click [OK].
To NOT
add this consolidator, or to NOT update an existing consolidator with changes,
click [Don’t make change].
To NOT add this consolidator, or
to NOT update an existing consolidator with changes, and return to menu, click [Exit].
To Delete a Consolidation:
If you need to delete a company
consolidation, go into this option, key the Master Division Consolidator number
you want to delete. Click once on [Delete]
to select (a checkmark will appear next to the selection). Click [OK].
If you decide not to delete this
division consolidation, click once on [Delete] to unselect (no checkmark will
appear next to the selection).
When you are finished, click [Exit]
to end the job. You will return to the
“General Ledger Maintenance” menu.