INTRODUCTION
TO SETTING UP THE GENERAL LEDGER
The following steps should be taken to set up the general ledger in SkilMatch.
1. Design (but do not enter) general ledger account numbers (refer to document Menu GLMANT, Item Accounts).
2. Design (but do not enter) your financial statement tailoring (refer to document Menu GLMANT, Item Tailoring).
3. Enter company names (refer to document Menu GLMANT, Item Company).
4. Create and enter names
for the cost centers (refer to Menu
GLMANT, Item Cost Center Descriptions).
5. Enter general ledger account numbers for the balance sheet accounts and one cost center (refer to document Menu GLMANT, Item Accounts).
6. Use the system to create the additional cost center account numbers (Menu GLMANT, Item Copy Chart of Accounts).
7. Add and delete account numbers to the completed Chart of Accounts (Menu GLMANT, Item Accounts).
8. Enter financial statement tailoring (refer to document Menu GLMANT, Item Tailoring).
9. Set retained earnings numbers for current and prior year earnings (refer to Menu GLMANT, Item Retained Earnings).
10. Set group number for percentage calculations (refer to Menu GLMANT, Item Set Group).
11. (Optional) Establish consolidations (company and/or cost center) (refer to Menu GLMANT, Item Consolidations or Menu GLMANT, Item Division Consolidation).
12. Enter budget and/or
prior year data (refer to Menu
GLMANT, Item Budgets and Prior and Menu
GLMANT, Item Duplicate Budget).
13. Activate budget and/or prior year data (refer to Menu GLMANT, Item Activations).
14. (Optional) Enter beginning
balances (refer to documentation concerning ‘Beginning Balances in General
Ledger’ in document Menu
GLJOUR, Item Data Entry).
15. (Optional) Maintain valid posting periods for all SkilMatch accounting applications (refer to Menu GLMANT, Item GL Posting Periods).
MAINTAINING BUDGETS AND PRIOR YEAR
Use this option to enter,
change, and delete budget and prior year data.
Once you have keyed budget amounts for your individual general ledger accounts, they will stay there from year to year. All you need to do for a new fiscal year is to make any modifications, or add or delete accounts. (There is only one budget file. This means you cannot simultaneously have budgets for 2 different years.)
Prior year figures get created automatically during the SkilMatch Fiscal year close. Prior year amounts need only be manually entered if you are converting to SkilMatch from some other software. Since this is a maintenance option, however, you may access the existing Prior year figures and make adjustments, if necessary.
Note: in addition to entering budget and prior
year data through Menu GLMANT, Item Budgets and Prior,
you must activate the data through Menu GLMANT, Item Activations.
To begin, on the “General Ledger Master” menu, click [Maintenance].
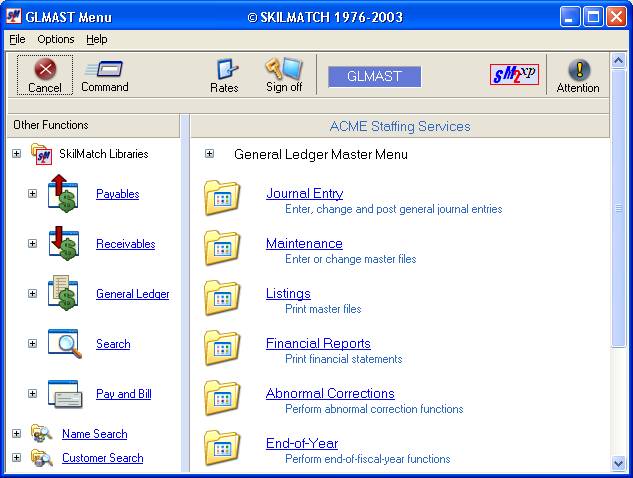
The screen will display:
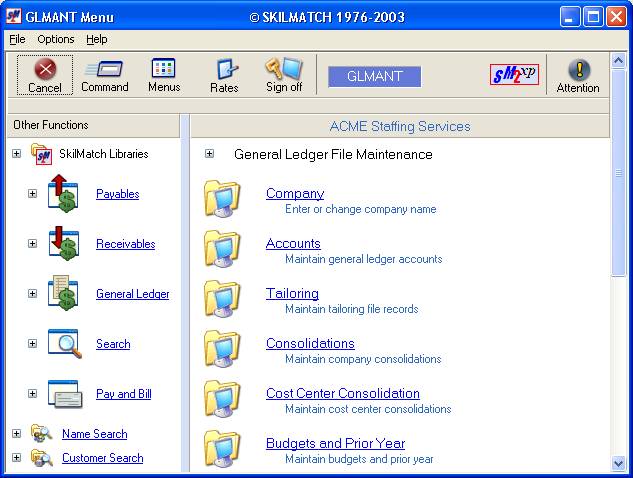
Click [Budgets and Prior Year].
The screen will display:
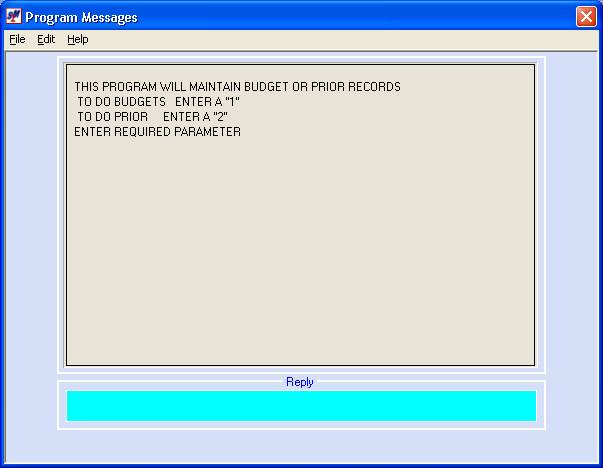
If you wish to enter budget data, key 1.
If you wish to enter prior year data, key 2.
To proceed, click [OK].
BUDGETS
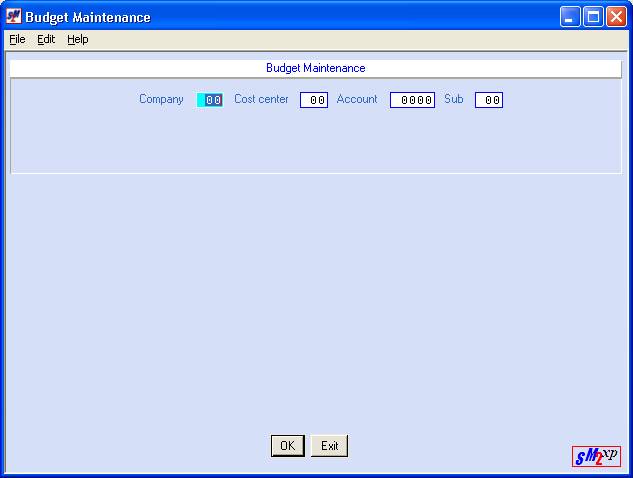
If you selected budgets, the screen will display:
When Period 1-12 Budget Dollars Will Be The Same:
If you wish to duplicate Period 1 budget dollars into Periods 2-12 (the budget dollars for an account will be identical for all periods), use this option to enter Period 1 budget dollars ONLY for those accounts that will have identical budget dollars for every period.
Then go to Menu GLMANT, Item Duplicate Budget to duplicate the Period 1 figures FOR ALL ACCOUNTS into Periods 2-12. If there are any dollars in Periods 2-12, the system will remove them and replace them with the Period 1 dollars.
After duplicating budget dollars, you may return to Menu GLMANT, Item Budgets and Prior to enter budget dollars for those accounts that will have differing budget dollars for every period.
Company:
Key the company number.
Division:
Key the division number.
Account:
Key the account number.
Sub:
Key the sub-account number, if applicable.
The screen will display:
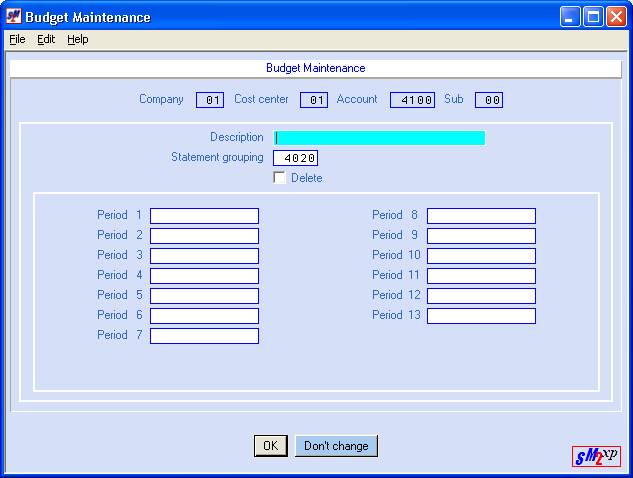
Note: if you do NOT wish to add this account or to
make changes to it, press [Don’t change] to bypass
this screen without updating. You will
be returned to the previous screen where you may continue with a different
account number.
Description:
Key up to 25 characters that describe the account. (Example: Cash Operation). (This description is NOT picked up from the Chart of accounts – you must key it in.)
Statement Grouping:
The system will display the group code from the Chart of accounts.
Press the <TAB> key to move the cursor to PERIOD 1.
Status:
If you wish to delete this record, click once to insert a checkmark. Otherwise, leave this area blank.
Press the <TAB> key to move the cursor to PERIOD 1.
Period 1:
Key the amount budgeted for the first period of the fiscal year.
You may use up to 11-digits (whole numbers only, no commas or decimal points). Be sure to use zeroes to hold spaces.
If this is a credit
amount, enter the number as a negative.
If this is a debit
amount, enter the number as a positive.
If the amount keyed for Period 1 will be identical in periods 2-12, do NOT bother re-keying the same amount by hand into the other periods. Instead use the “Duplicate Budget” option and let the system copy the figures for you.
When finished, click [OK].
The screen will display:

Repeat the procedure for
each account you wish to enter budget data for.
When finished, click [Exit] to end the job. You will return to the “General Ledger Maintenance” menu.
To Modify A Budget:
If you wish to change a budget, re-enter this option, key the account number, and click [OK]. Move to the fields that require changing. When the screen appears correct, click [OK]. When all changes are made, click [Exit] to end the job. You will return to the “General Ledger Maintenance” menu.
To Delete A Budget:
If you wish to delete a budget, re-enter the option, key the account number, and click [OK]. The screen will display the budget. Move the cursor to STATUS. Click to insert a checkmark and click [OK].
When you have finished deleting budgets, and click [OK] to end the job.
You will return to the “General Ledger Maintenance” menu.
Prior year figures are created for you when a fiscal year is closed. Unless you are converting to SkilMatch from another system, and need to manually key in your Prior Year figures, this option will probably need be needed.
If you do use this option, it will overwrite any system created figures. These figures are used by the system during the printing of financial statements.
If you selected prior year, the screen will display:

Company:
Key the company number.
Cost Center:
Key the division/department (cost center) number.
Account:
Key the account number.
Sub:
Key the sub-account number, if applicable.
To proceed, click [OK].
The screen will display:
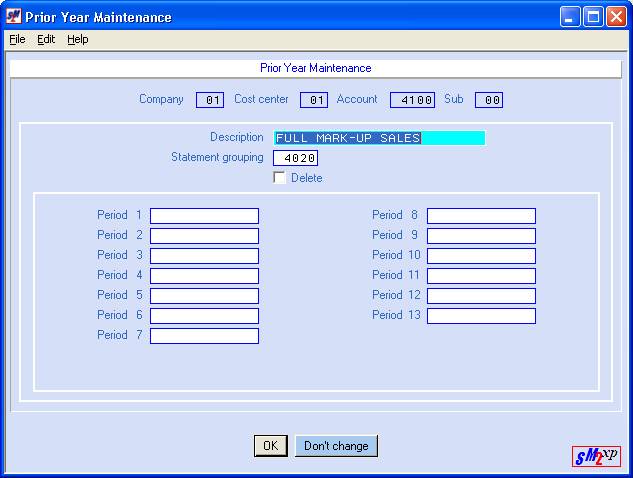
Note: if you do NOT wish to add this account or to
make changes to it, press [Don’t change] to bypass
this screen without updating. You will
be returned to the previous screen where you may continue with a different
account number.
Description:
The system will display the description from the Prior Year file that is created during end of year close.
Statement Grouping:
The system will display the group code from the Chart of Accounts.
Status:
If you wish to delete this record, click to insert a checkmark. Otherwise, leave this area blank.
Period 1:
Key the prior year amount for the first account period of the fiscal year.
You may use up to 11-digits (whole numbers only, no commas or decimal points). Be sure to use zeroes to hold spaces.
If this is a credit
amount, enter the number as a negative.
If this is a debit
amount, enter the number as a positive.
Repeat this step for each of the account periods of the fiscal year. When all periods have prior year figures, click [OK].
The screen will display:

Repeat the procedure for
each account you wish to enter prior year data.
When finished, click [Exit] to end the job. You will return to the “General Ledger Maintenance” menu.
To Modify A Budget:
If you wish to change a prior year figure, re-enter this option, key the account number, and click [OK]. Move to the fields that require changing. When the screen appears correct, click [OK]. When all changes are made, click [Exit] to end the job. You will return to the “General Ledger Maintenance” menu.
To Delete A Budget:
If you wish to delete prior year data for an account number, re-enter the option, key the account number, and click [OK]. The screen will display the budget. Move the cursor to STATUS. Click to insert a checkmark and click [OK].
Repeat for additional deletions. When you have finished deleting prior year data, click [OK] to end the job.
You will return to the “General Ledger Maintenance” menu.